-
 Call Now ! +86-13912367818
 -
 Email Now info@wxhlhg.com


 Industry Solution around the world
Wuxi Hualian Science&Technology Group is developed from previous Wuxi Hualian Welding&Cutting Equipment Factory, which was established in 1987.
SCIENGE & TECHNOLOGY GROUP37 years of dedicated research and manufacturing of welding and cutting equipment

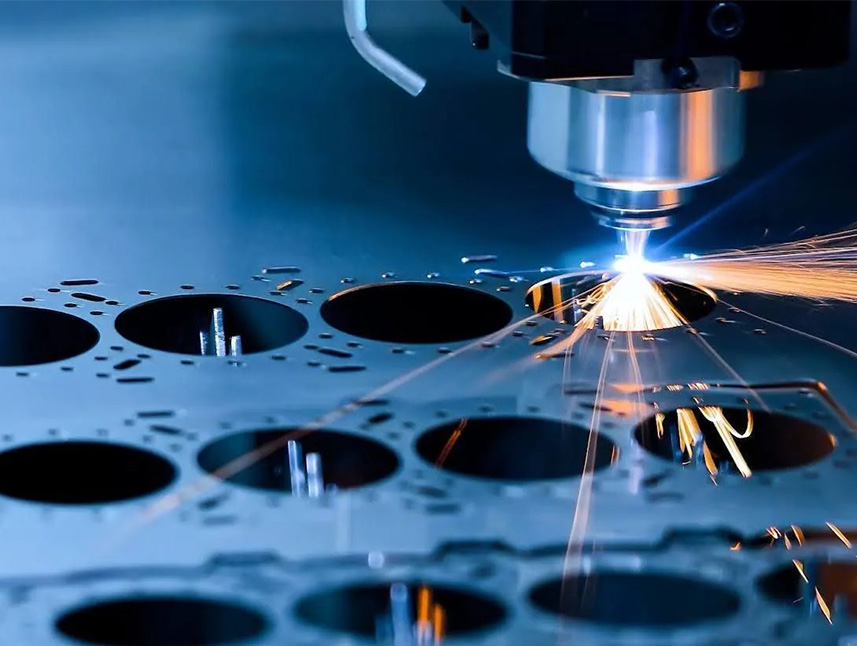
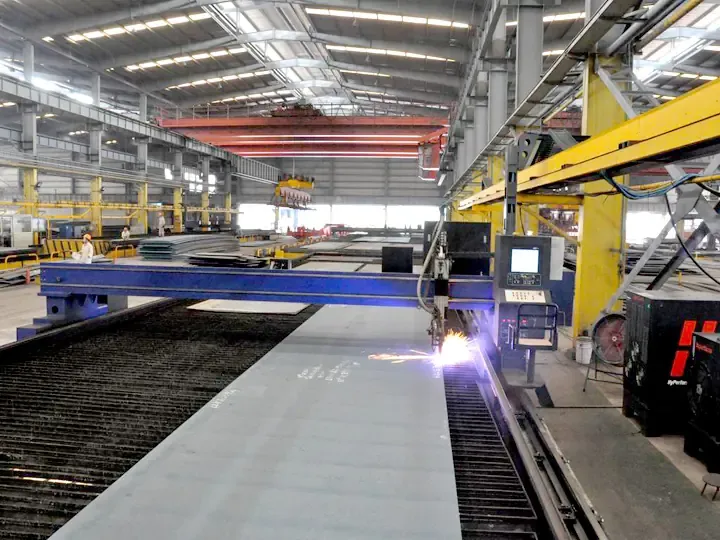
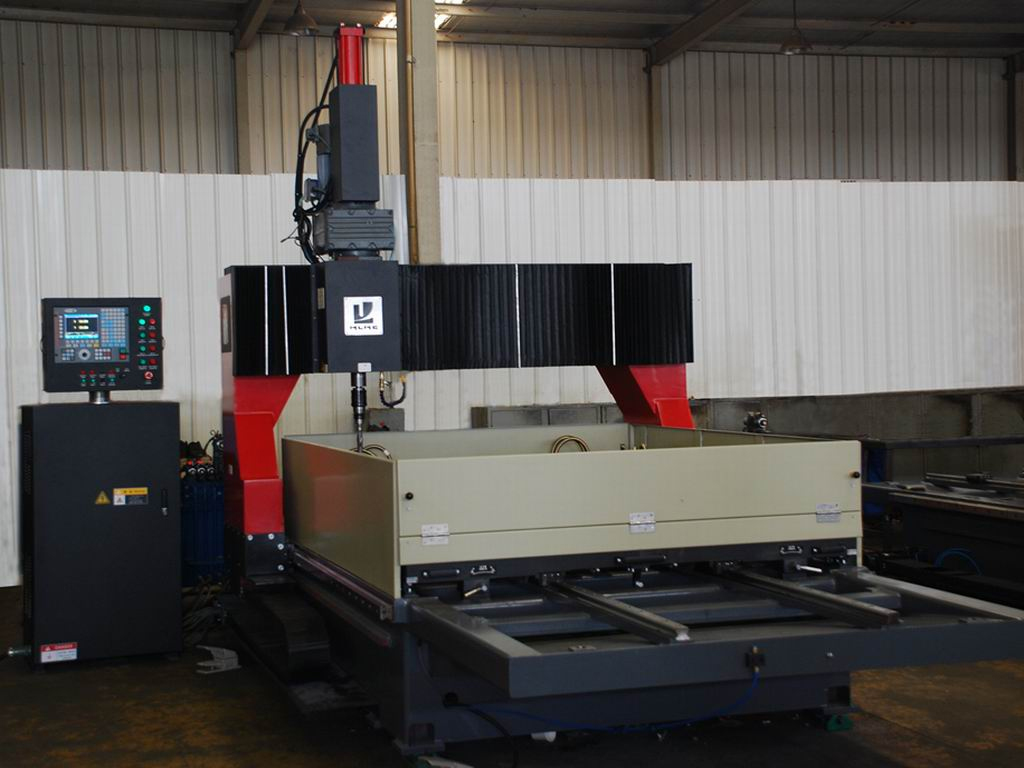
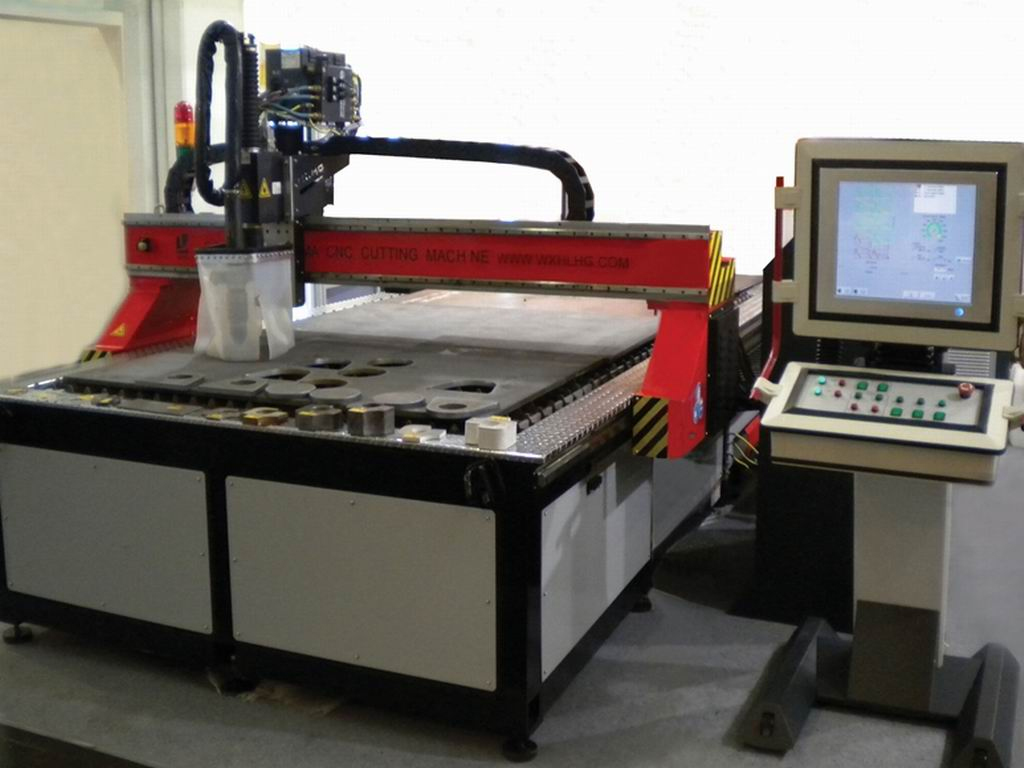
What is CNC machine? Computer-aided machining (CNC) means being able to precisely control a machine using a computer program. CNC machines are a method of controlling machine tools through a computer. It works on the principle of transforming digital virtualized designs into actual mechanical actions based on CAD models. How does a CNC system work? […]
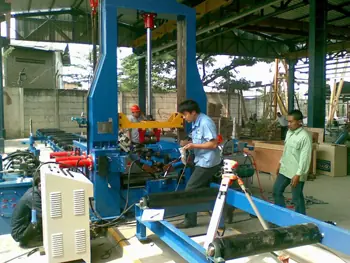
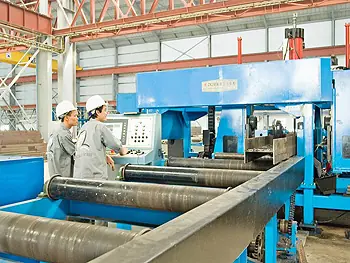
Today’s fast-paced manufacturing world depends heavily on precision metal cutting CNC machine solutions. They are key in fields like construction, shipbuilding, and manufacturing. By making work smoother and more precise, these tools help achieve top-notch outcomes. Companies like Wuxi Hualian lead the way with cutting-edge CNC tech. They support various metal cutting and welding needs, enabling […]
【INVITATION】 2024.04.15 ~ 2024.04.19 The 135th Spring Canton Fair Will open grandly at the Guangzhou Canton Fair Exhibition Hall HuaLian Science&Technology Group will attend Canton Fair splendidly again Sincerely invite domestic and foreign customers and friends Visiting our booth for exchanges Booth No.: 19.1 L26-27 Address: No. 380 Yuejiang Middle Road, Haizhu District, Guangzhou
Years of Experience
Wuxi Hualian Science&Technology Group is developed from previous Wuxi Hualian Welding&Cutting Equipment Factory, which was established in 1987.
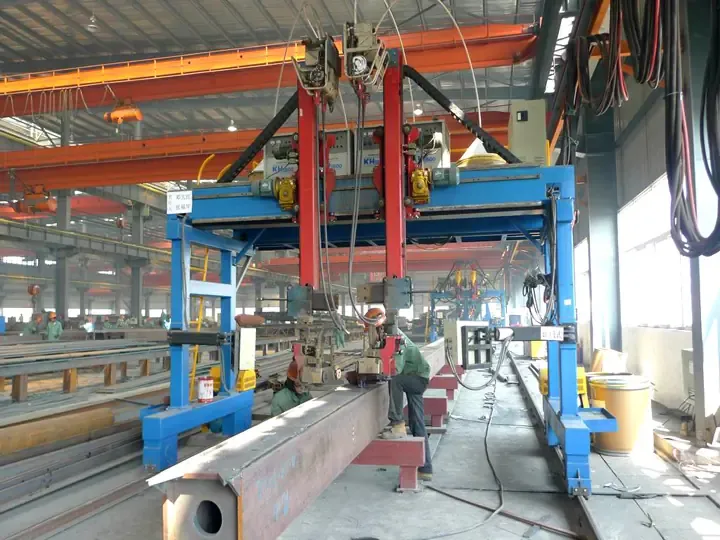
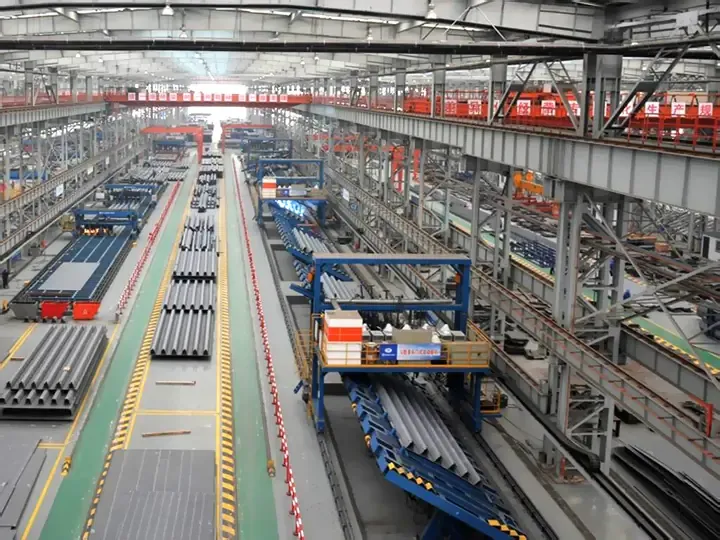
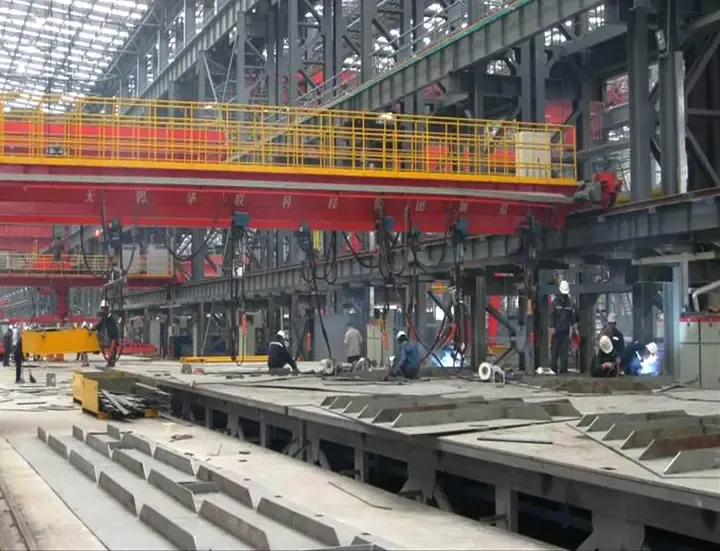
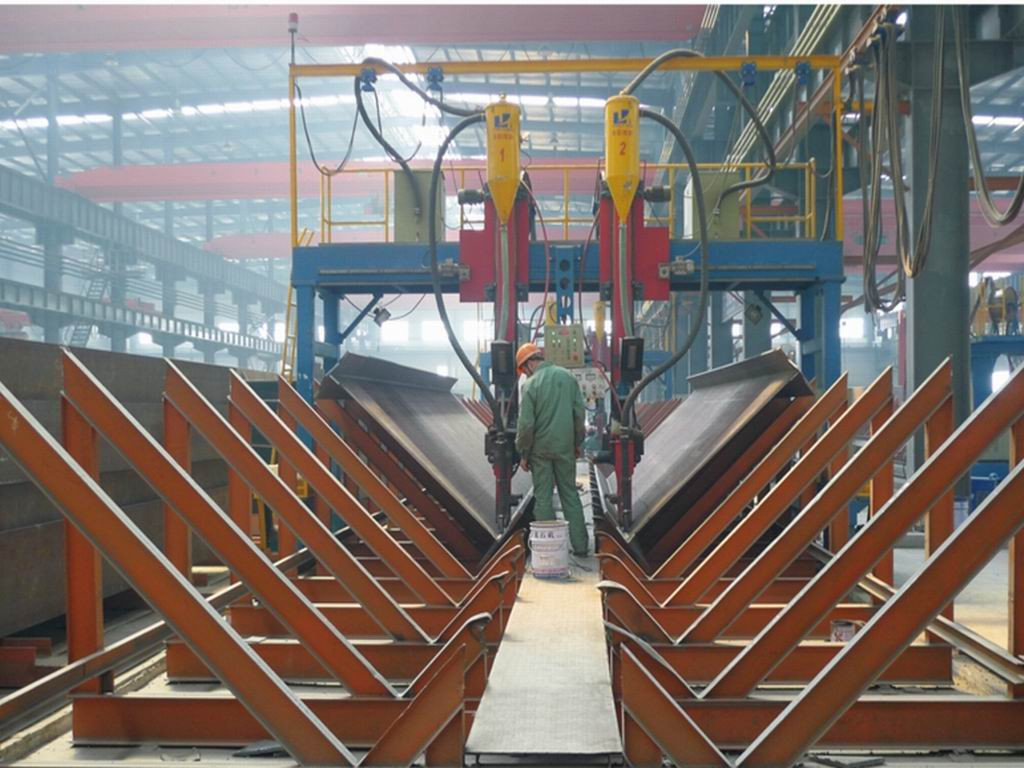
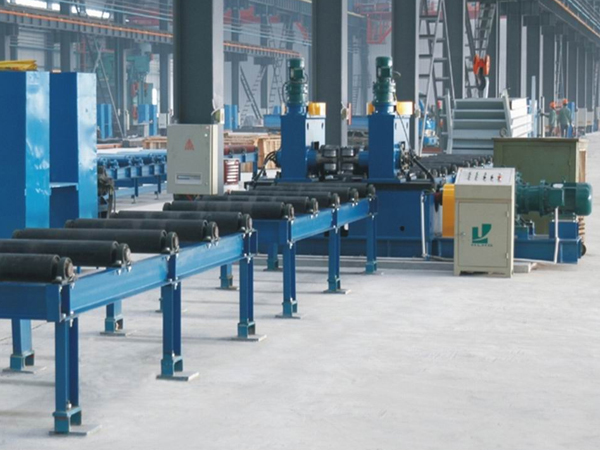
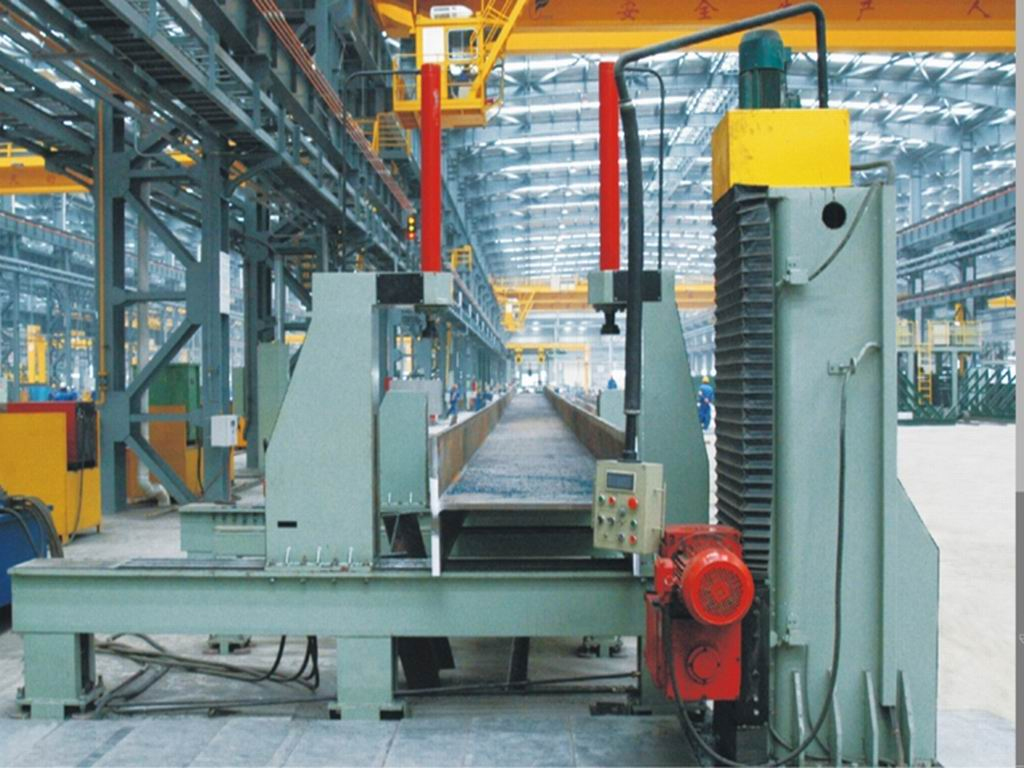
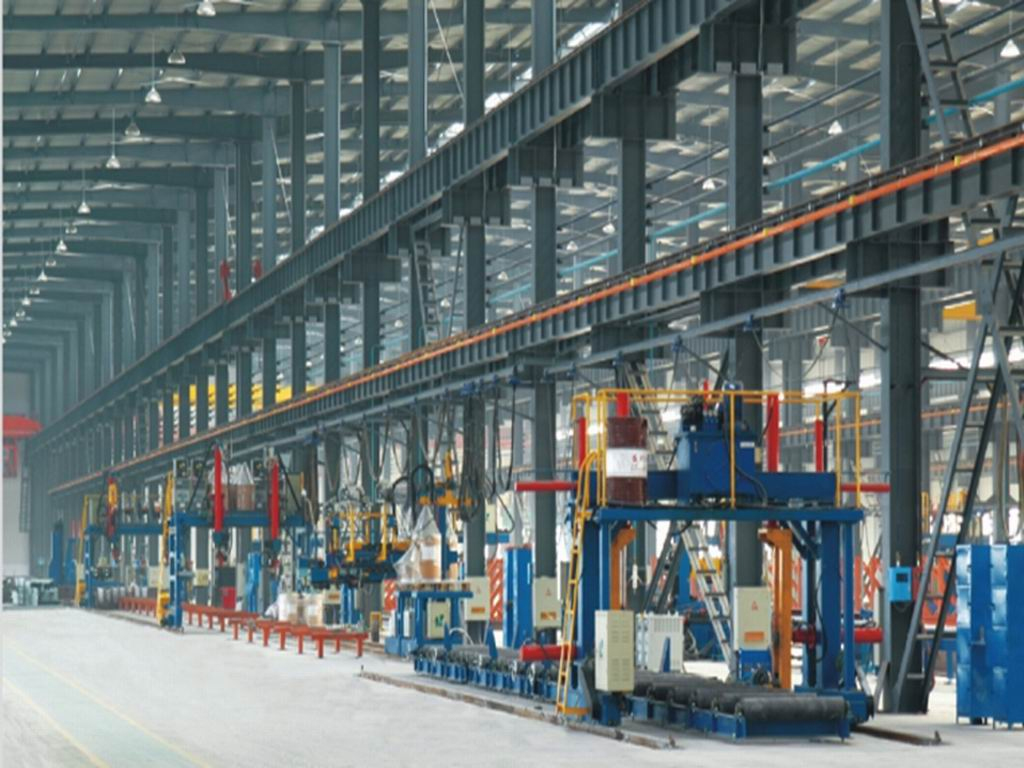
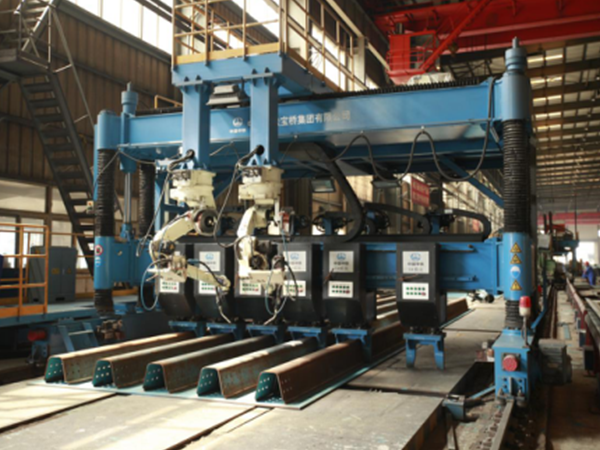
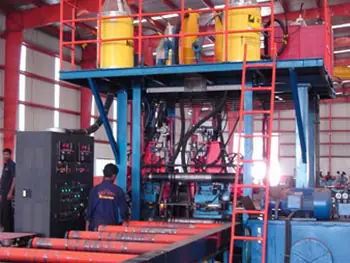
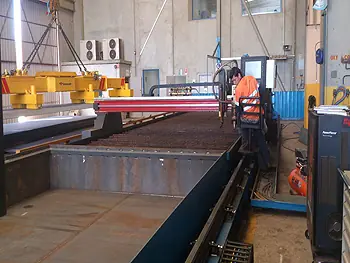
The group has a total registered capital of 1100 million RMB and covers an area of 200,000 square meter,it’s a high-tech, private enterprise specialized, in producing and supplying, welding&cutting equipment,CNC system,CNC machineries,welding power source, mechanical&electrical integrated products and galvanized steel coil etc. The products are widely used in steel structure, shipbuilding, bridge building,boiler,chemical industry, metallurgy, electrical power industries etc.
After more than 30 years of trials and hardships, Hualian Science&Technology Group has three wholly-owned subsidiaries and a holding company, which accept the temper of the industry in their respective fields and show their own beautiful attitude at the forefront of the market.


The company follows the market needs, adheres to the deep cultivation of the industry, constantly carries out product innovation and optimization, intelligent upgrading, and gradually develops into one of the core suppliers of intelligent welding workshops and intelligent welding and cutting equipment in shipbuilding, bridge building, green building, large extra-heavy steel structure, electric power, metal processing and other fields.
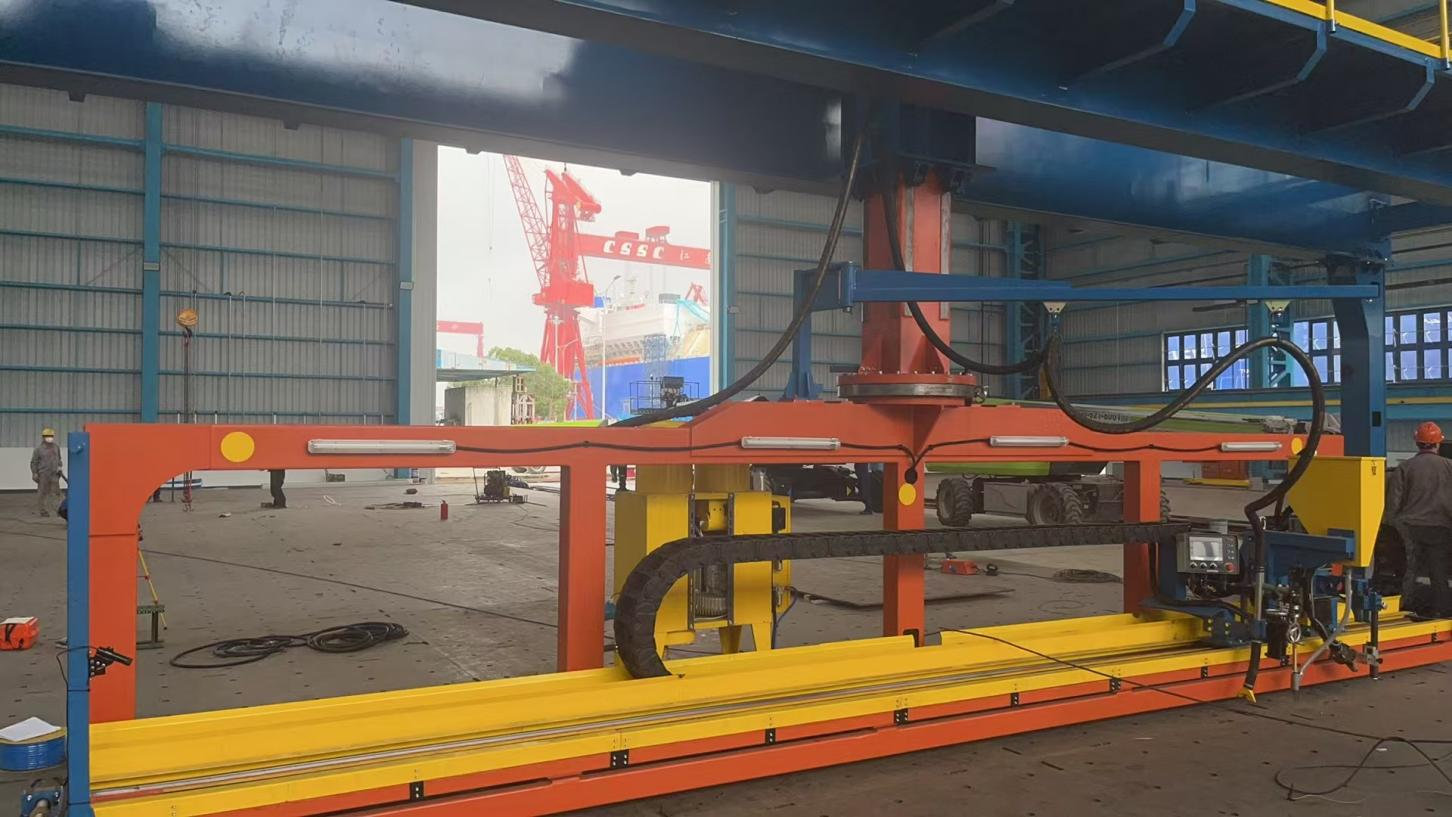
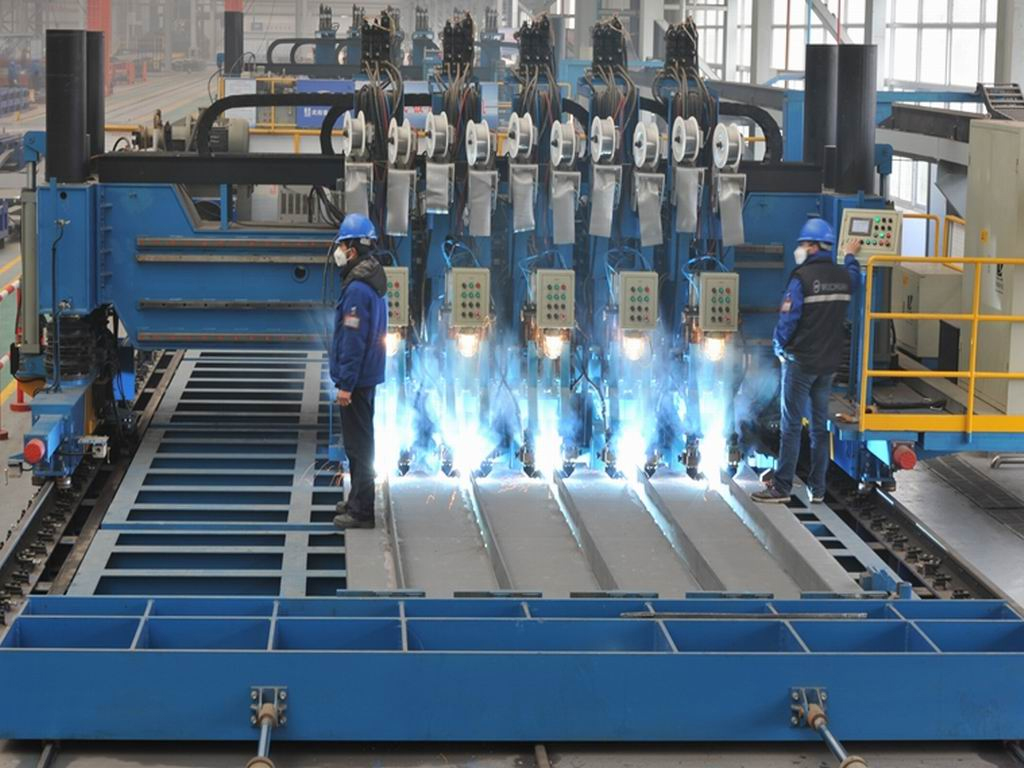
Project site: User Feedback:Hualian has cooperated with Jiangnan Shipyard more than once. They have cooperated on projects such as T-row assembly line as well as pressure frame for planking. In many projects, both sides are able to accomplish each other. For the customer, the high quality production line enables us to have more production of […]
Read More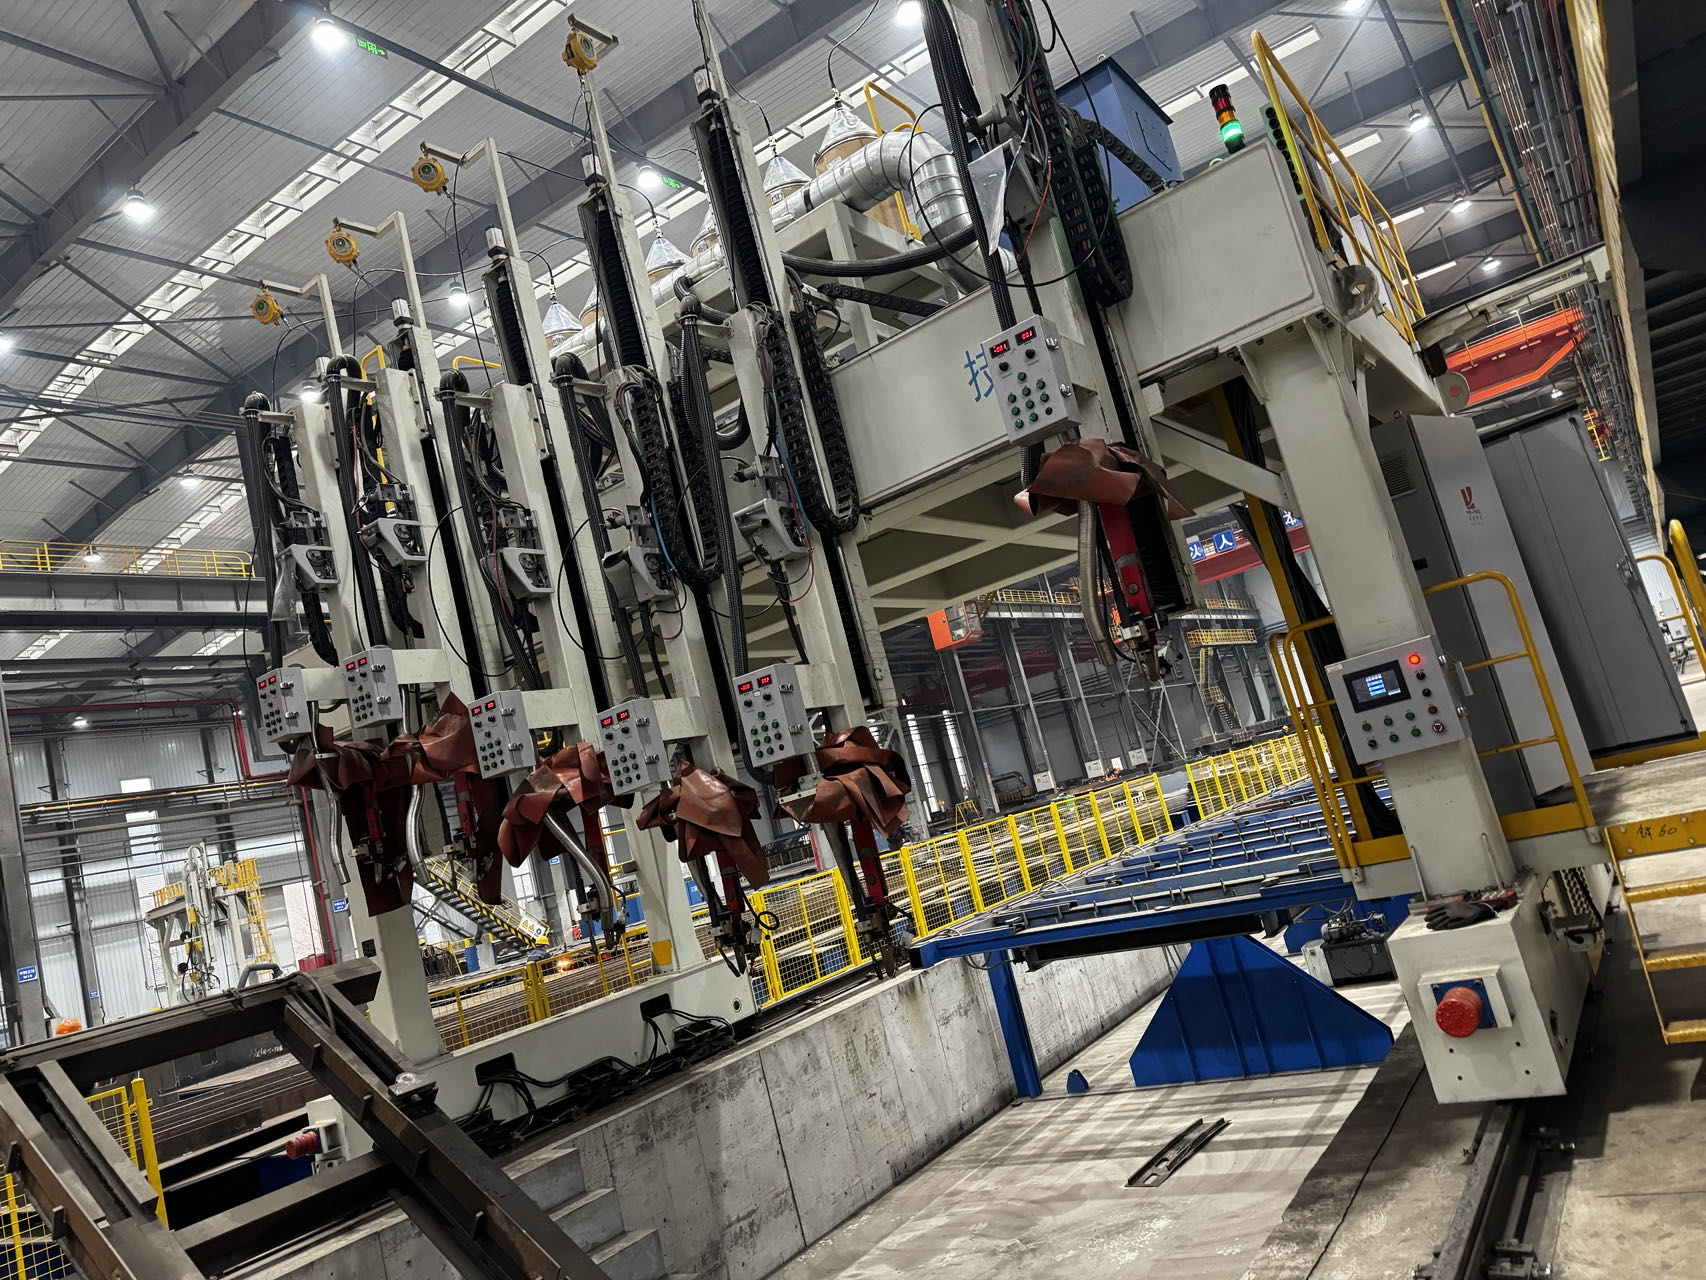
User Feedback:Hualian has made a lot of representative achievements in the field of bridges. Working with Hualian, we can feel the professionalism of the team on the project. The whole team is also very serious and responsible.
Read More
Project site: User Feedback:Hualian has been a long time partner of our company and the cooperation between both sides has been tacit. After purchasing and putting into use the steel structure equipment made by Hualian, our production capacity and efficiency have been improving. Hualian also responds positively to our needs when there are after-sales, maintenance […]
Read More
Name of installation project: Planking, Turning Scribing, Mounting, Longitudinal Welding, Jacking Actual view of the installation site: User Feedback:This project involves a large number of workstations, and it took a relatively long time from the installation of the project to its final deployment. During this process, CCTC followed up on the progress of the installation of […]
Read More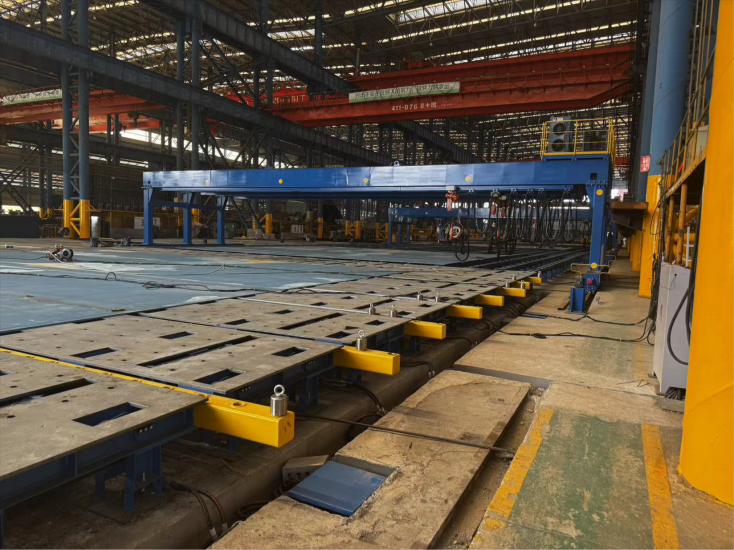
Name of the installation project: panelizing work, submerged arc welding frame, longitudinal mounting machine, longitudinal welding machine Site installation view Onsite user feedback:The overall installation workload of this project is relatively large. The masters of Hualian responsible for the on-site installation worked conscientiously and responsibly, and actively cooperated with the customer’s requirements and progress. They […]
Read More